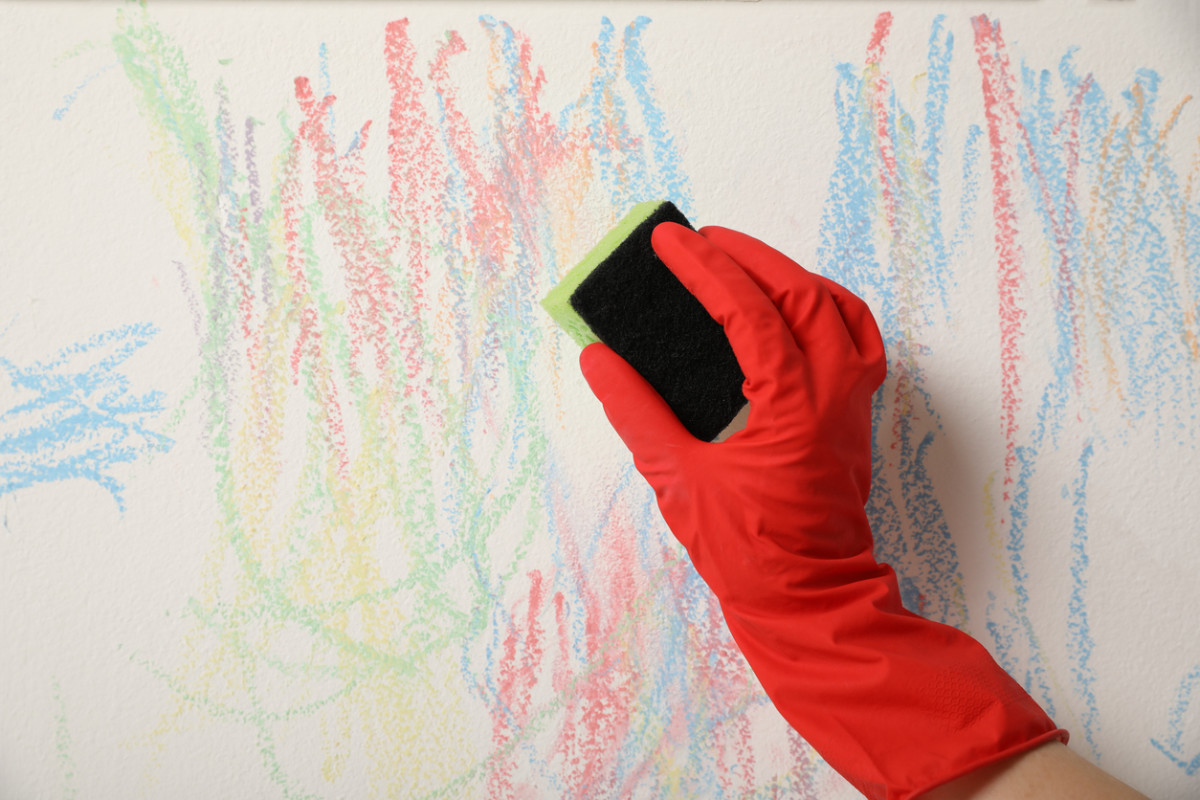
Topical crayon artwork on your walls is probably nothing new if you have small kids. This is a part of their creativity, however, crayon marks can be hard to remove. Wax-based stains from crayons are oily and can be hard to remove. The good news is that these disadvantages make it easy to fix your walls. There are typical home products like baking soda or toothpaste or even a magic eraser you can use to remove crayon smears. Be sure to test any cleaning method on a small inconspicuous area to ensure it won’t damage the wall finish.
How to Remove Crayon from Wall
1. Baking Soda Paste for Crayon Removal
For an easy clean-up paste to scrub crayon off the walls, simply combine a few spoonfuls of baking soda with enough room temperature water to form a thick, spreadable paste. As a paste, apply this to the crayon mark on your wall, gently scrubbing with a soft cloth or sponge. The mildly abrasive texture of baking soda aids in removing traces of crayon without harming the paint. When done cleaning, wipe the area with a wet cloth to get rid of residue. This technique acts as a soft yet powerful method of cleaning crayon from walls.
2. Using a Magic Eraser for Crayon Removal

The magic eraser is one of the easiest ways to get crayon off the walls. You want to address those scars while they’re still fresh for maximum results. Simply roll and squeeze any excess water to dirty-clean it. Bathe the crayon mark in it, and watch them disappear! Easy to use, this product is good for not only crayon stains but is also known to make miracles happen on other tough marks, like permanent ink. However, this is a fast and convenient solution to having your walls back in their clean, crayon-free place.
3. Toothpaste Method

In very bare minimum and effective methods, toothpaste and toothbrush are great tools to remove crayon stains from walls. Be sure to use regular paste, not gel, as the paste has mild abrasives that assist in removing crayon stains. The paste works to gently lift the scar of crayon but not scuff the wall of mild impatience. Put a small amount of toothpaste in the stained area and scrub lightly with a toothbrush in a circular motion. This method is safe to use for most wall finishes; however, it is advisable to test in a small area first.
4. Soap Water Solution

To remove crayon marks from the walls, dilute some detergents in the water. Soak a cloth or steel wool in a soap solution and scrub the area gently. Avoid applying too much pressure while patting and cleaning. Soap helps in breaking the waxy crayon residues, making it easier to wipe. Always be sure to test this method at a small, hidden location first to avoid any damage to the surface of the wall. This simple solution can effectively restore your walls without damaging.
5. Mayonnaise

Did you know Mayo can get crayon marks off the walls? Crayon wax easily dissolves with fatty oil in mayonnaise. Simply cover the stain with a layer of mayo and allow it to sit for around five minutes. Then, wipe it with a towel, and the crayon color should be gone. If you can see a mark, repeat the process or use soap and water to make it go away. As the mayo has oil, you should try it in a small area to be sure it won’t damage the wall paint.
6. Hairspray

Spray a small amount of hairspray, then let it sit for a few minutes to remove it from the wall. But hairspray out the waxy stain and makes it easy to wipe. After the waiting period, use a clean cloth or sponge to scrub off the crayon. Then clean the area with a wet cloth to collect any leftover hairspre remnants. Let the wall air dry, and voila, your walls are no longer crayon-marked but restored to their original form.
7. Vinegar

So, to losen the crayon marks from your wall, you would need an old toothbrush, dip it in distilled white vinegar. Lightly scrub the stained area, then wipe the wall down with a microfiber cloth and warm water. You could want to follow a donkey Ug approach after you wash the wall with soap and water if the fragrance of vinegar is not your choice; however, make sure that the last rinse is done with plain water only to wash off any remaining soapy buildup. This simple solution will help lift the crayon without ruining the finish of your wall.
8. Rubbing alcohol

Rubbing alcohol is commonly suggested to lift permanent markers, though not all paints will hold up to it. For example, when acrylic paint is closed to the rubbing, it is closed. Always test a small, hidden area of the wall before using this method to make sure it does not damage the surface. As always, avoid solvents if you can, but if you do, any of the cleaners may work just as well but without the possibility of damaging paint with solvents. Just be sure to choose a method appropriate to your wall finish for the best results.
9. Crayon Removal with Wet Wipes

Are you thinking about How To remove crayon marks from your walls? gently rub a wet on the stained area. Use a light touch to avoid harmful paint. Weight wipes are effective for lifting crayon marks without harsh scrubbing, making them a great option for quick cleaning. To ensure that this paint is sure to test the wipe on a small, hidden section of the first wall to affect the finish. With this simple method, you can easily restore your walls and keep them looking fresh.
10. Using Glass Cleaner

Stuff like glass cleaner is great for crayon stains on the walls. Simply spray the cleaner onto the mark and leave it sit for several minutes to break the Momi crayon. After that, wipe the stain with a soft cloth or towel. This approach is a non-confer, making it less likely to damage your wall surface. This is the easiest and safest way to get your walls back without losing things. Always try the cleaner in an inconspicuous area first to be sure it won’t damage your wall finish.
After all, heat is the key to erasing crayons because it melts the wax and allows for easy wiping with a damp cloth. But be careful not to scrub; it can ruin your wall paint. Before treating a large area, always test any method on a small, out-of-sight section of the wall. Crayon marks may require the assistance of a specialist or special cleaners if you are unable to remove it after multiple attempts. If you have the correct method, your walls can return to their initial placement.
Read Next
10 How to Keep Room Cool in Summer Naturally